RIO Ready: Login/Self-Registration Functionality
Save time with our enhanced support for student self-login.
In Digital Experience, you have the option to use a Salesforce standard login or a RIO Ready custom login.
Why/when do you use the RIO Ready custom login?

Use Case 1: We don't want logins for all students in our database:
You have a huge number of students in your legacy database that were brought over to RIO Education. You do not want to activate Digital Experience logins for all of them, you want only active students to be able to self-setup their login.
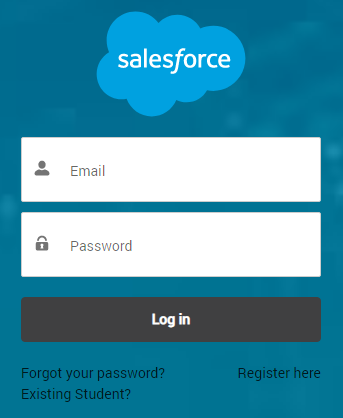
In this use case, RIO Ready login will be the best-fit. In the RIO Ready login, you will see the following links:
| Existing student |
Any existing students can click on this link to enter their university email for verification. If their Contact details are found in Salesforce based on the university emails entered, Contacts will NOT be created and only Users will be created instead. The Digital Experience login details will be sent to them. |
| Register here |
Any new students/prospecting students can click on this link to enter their basic details to register for a login. Contacts and Users will be created within Salesforce and the Digital Experience login details will be sent to them. With their new logins, they can proceed by performing other tasks such as submitting the application form. |
| Forgot your password |
Existing Digital Experience users who need to reset their passwords. |
Use Case 2: Auto-assign the profile and permissions for students that self-register:
RIO Ready custom login functionality has an added feature to automatically assign the right profile and permission sets to the students when they self-register. This will ensure that the student will get the right access to RIO Education features specific to the students.
Use Case 3: Implement added security to the login process:
There is an added reCAPTCHA feature in the registration functionality. This will help to protect the Digital Experience from spam and abuse.
To set this up, you can follow the steps here.