Creating Users
Table of Contents
Overview
This article will cover how Users are created for students, faculties, and admins (not system admin).
Student User
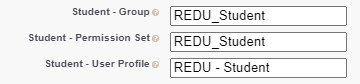
| Profile | REDU - Student |
| Permission Set / Permission Set Group | REDU - Student |
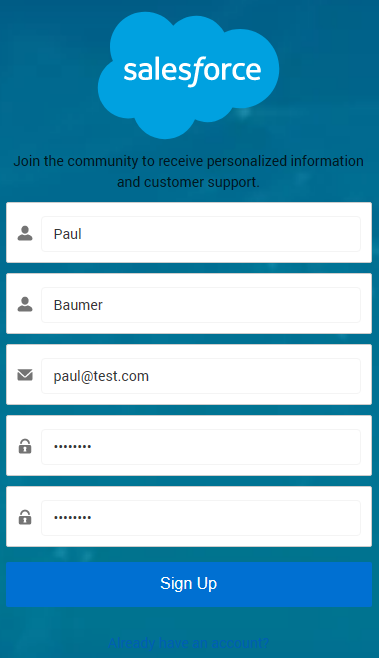
Method 1 - Self register via the Student Community
When a new applicant signs up as new Community users (to apply for a program), a User record will be automatically created with the profile and permission set mentioned above.
This is provided that this function is set up correctly as follows: RIO Ready: Login/Self-Registration Functionality Setup.
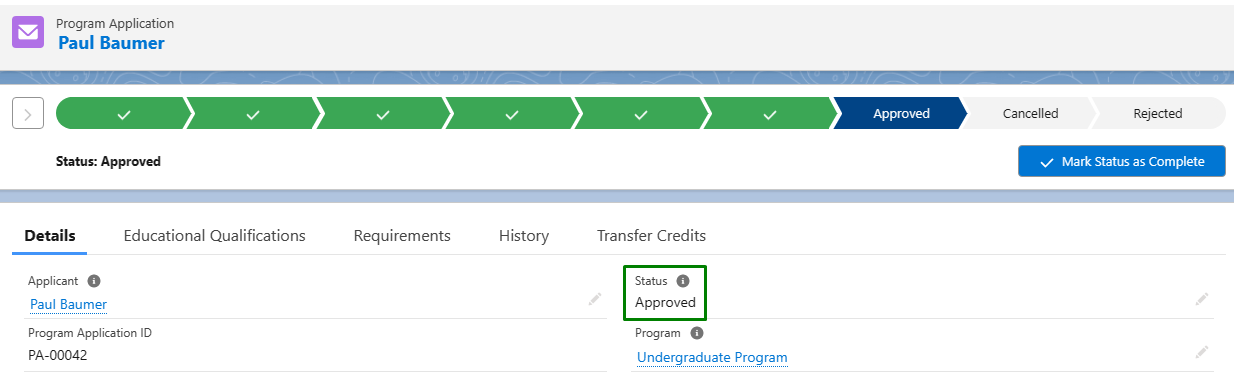
Method 2 - Approving the Program Application
For some institutions, new applicants will not be signing up on the portal (as seen above).
Some institutions will use a web form to collect applications, and convert the Leads into Contacts.
Then, when the admin approves a Program Application / Application (EDA) for new applicants (on their behalf), this will automatically create User records for the applicants, which are also registered in the Student Community.
This will allow the students to log in to the Student Community.
This is provided that:
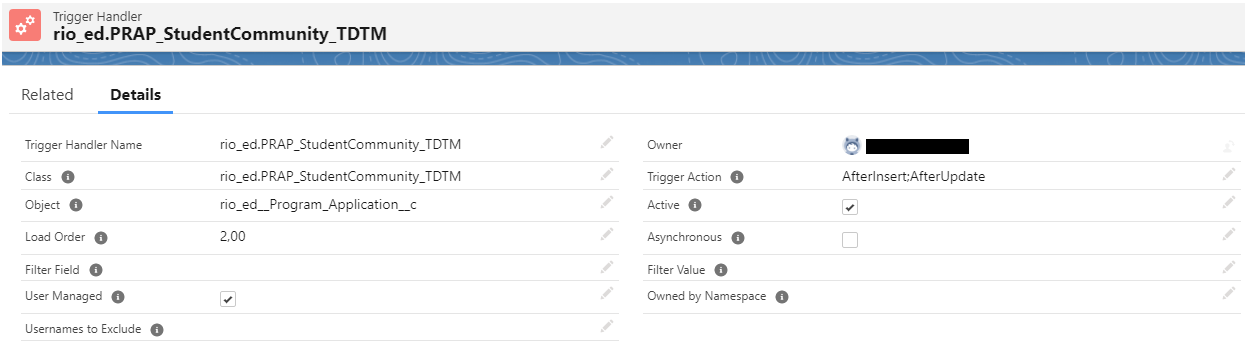
- The trigger handler PRAP_StudentCommunity_TDTM (if you are using Program Application) or APP_StudentCommunity_TDTM (if you are using Application (EDA)) is active.
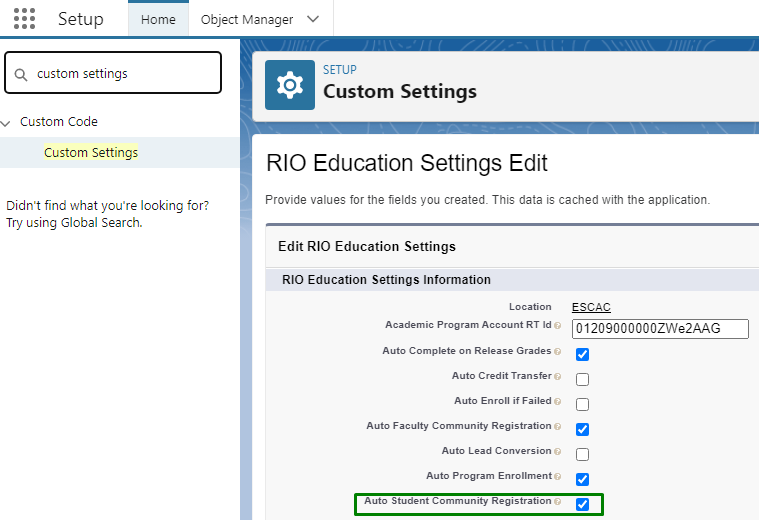
- The 'Auto Student Community Registration' custom setting is enabled (and the correct student profile and permission set are populated).
Method 3 - Manual creation
- Create a Contact.
- If it is for a student, set the Contact Type = Student.
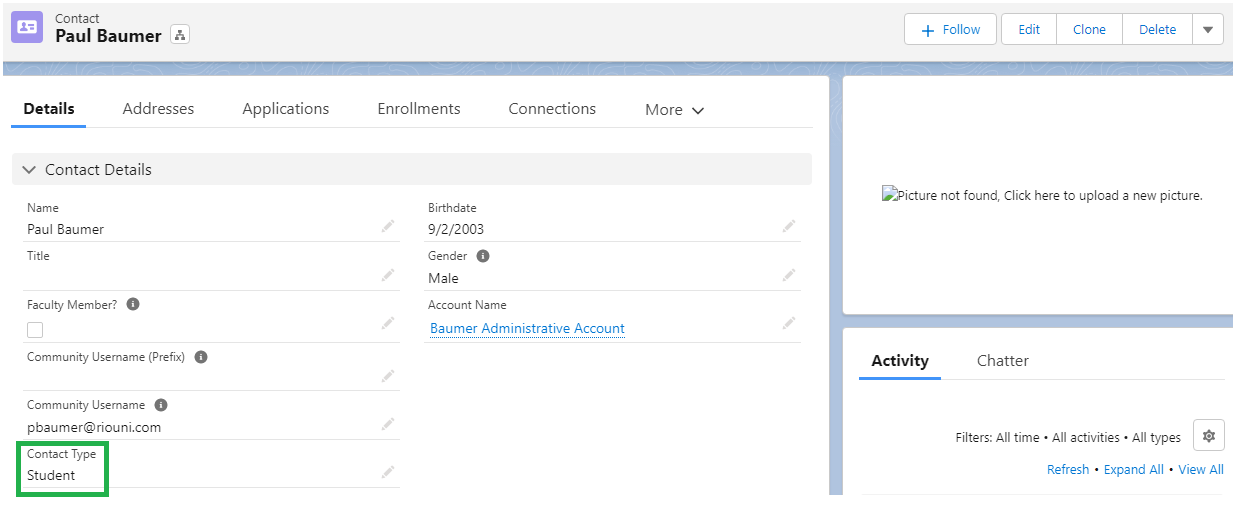
- If it is for a student, set the Contact Type = Student.
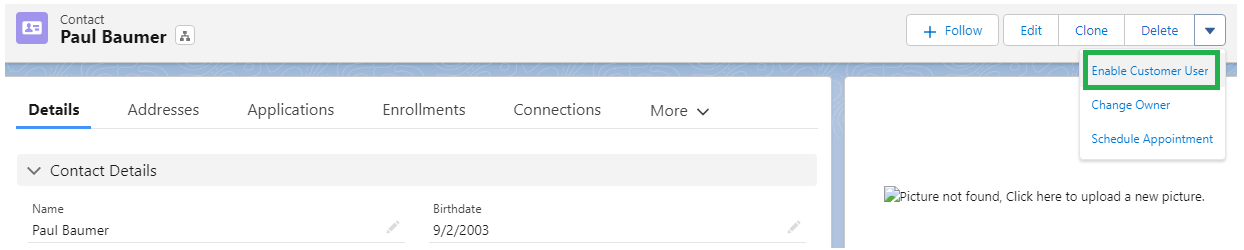
- On the top right side of the page, click on 'Enable Customer User'.
- Add the required User License and Profile.
The User License should be 'Customer Community Login', and the Profile should be 'REDU - Student'.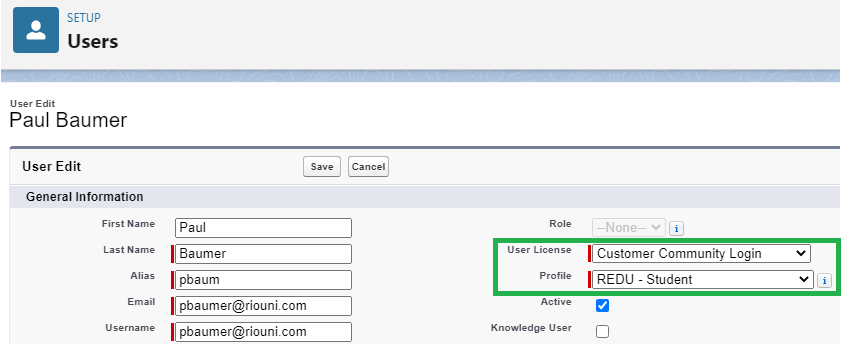
Ensure that the student user is given the 'REDU - Student' Permission Set Assignment.
If you have other Permission Set Assignments for students, ensure that a Permission Set Group containing those are assigned.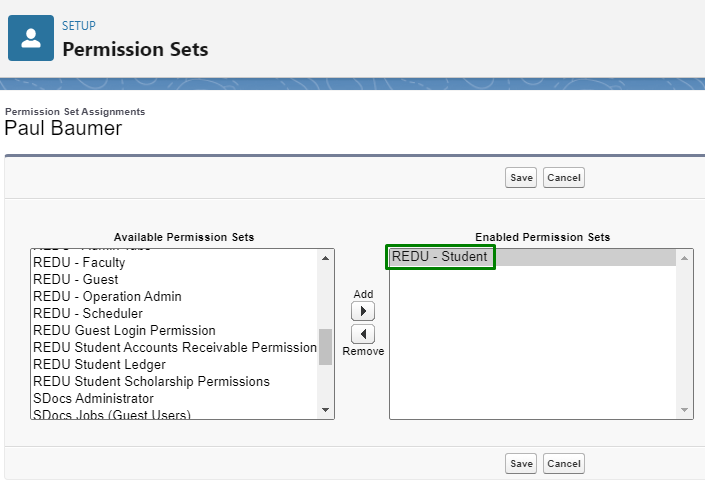
- An email will be sent to the Student user to verify their account.
Faculty User
| Profile |
|
| Permission Set / Permission Set Group | REDU - Faculty |
- Make sure that you, as the System Admin, has a Role defined for your User.
Go to Setup > Users and double check if your User has a Role (any will do).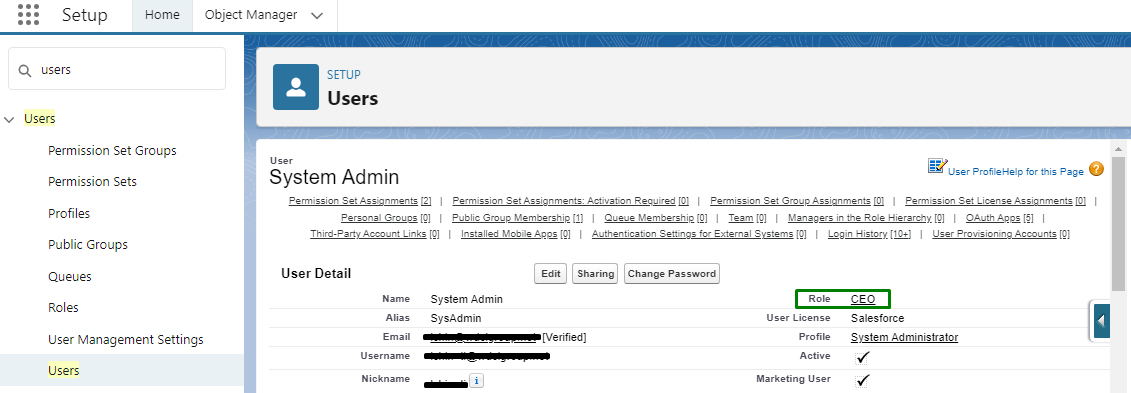
- Also, make sure that the following are set:
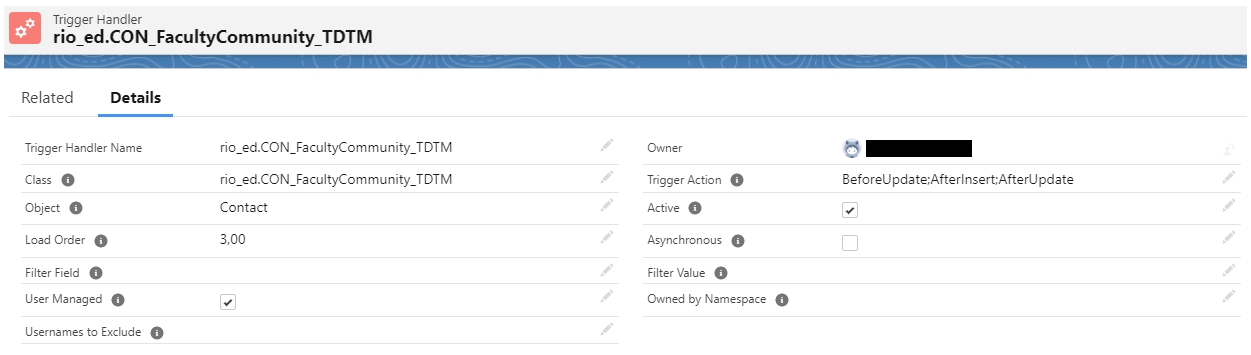
- The trigger handler CON_FacultyCommunity_TDTM for Contact is active (you may search for 'Trigger Handlers' in the App Launcher' to double check).
- The 'Auto Faculty Community Registration' custom setting is enabled (Setup > Custom Settings).
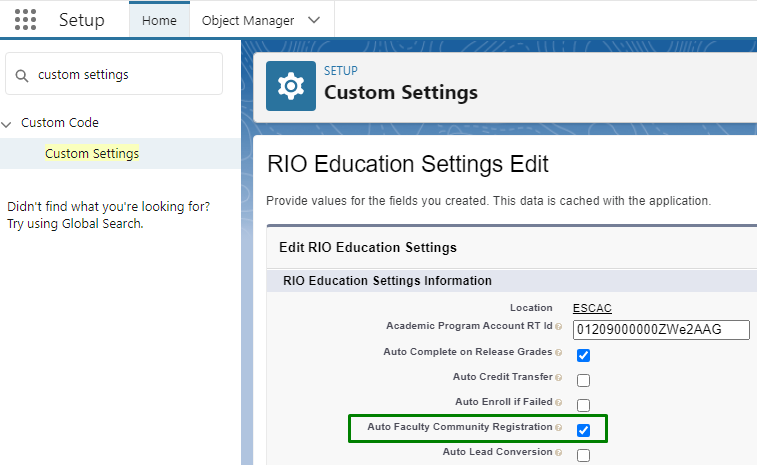
Also, ensure that the following faculty profile and permission set are populated ( ** the profile will depend on your User License).
- The trigger handler CON_FacultyCommunity_TDTM for Contact is active (you may search for 'Trigger Handlers' in the App Launcher' to double check).
- Create a Contact record for the Faculty.
Ensure that the 'Faculty Member?' is checked.
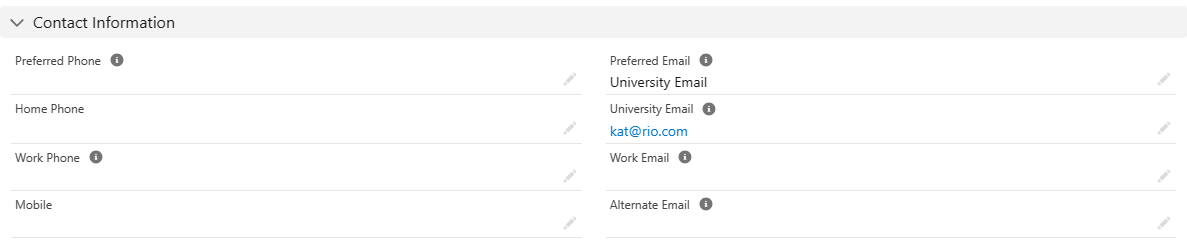
Make sure that a Community Username and an email address are included.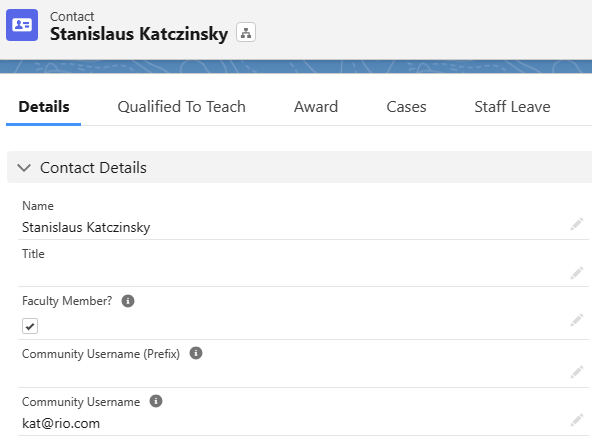
- Check the 'Create Community User' checkbox, which will automatically create a User when the record is saved.
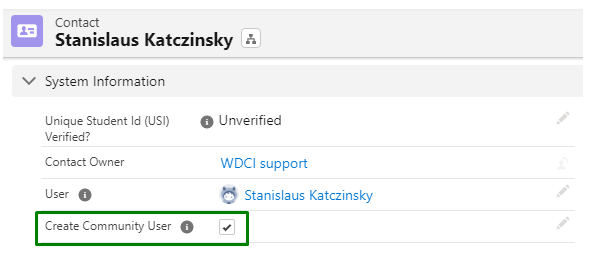
Important note:- If you are checking the 'Create Community User' checkbox after the Contact has been created, make sure that the Account associated with the Contact is an Administrative Account.
It should be automatically created when the Contact is created, and takes the name of the Contact.
- If you are checking the 'Create Community User' checkbox after the Contact has been created, make sure that the Account associated with the Contact is an Administrative Account.
- Make sure that the newly created User's profile and permission set are correct (as seen above in the table).
You can head to Setup > Users to check these.
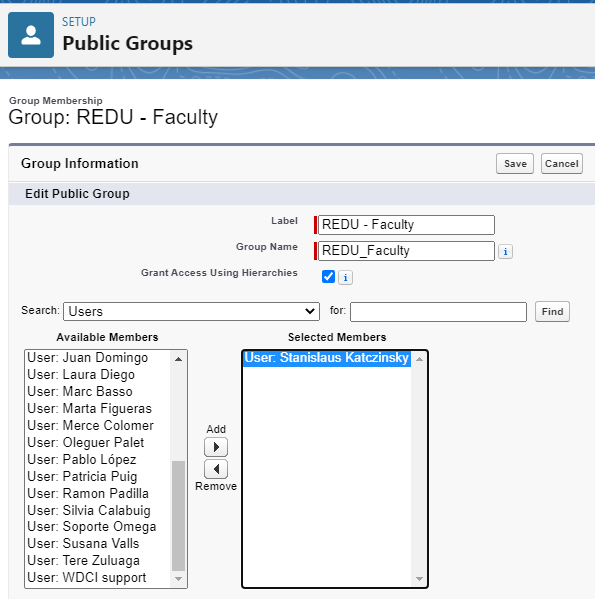
- Under Setup, head to Public Groups, and add the User to the REDU - Faculty Public Group.


Your Faculty user has been created.
To log in to the Faculty Community, head to Setup > Users and login as that user.
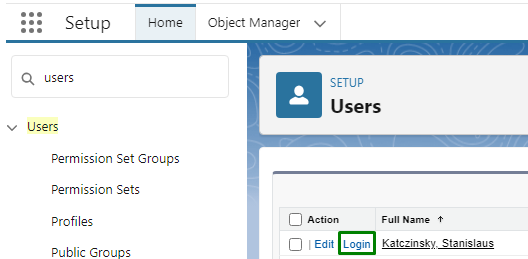
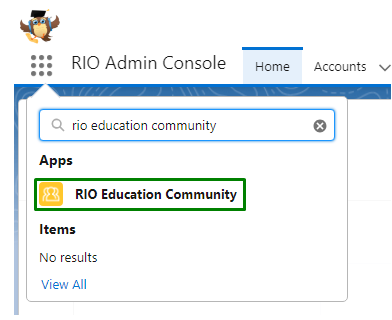
This will then take you to the Faculty Community.
If unable to auto create
The alternative method is to manually create the User record for the faculty.
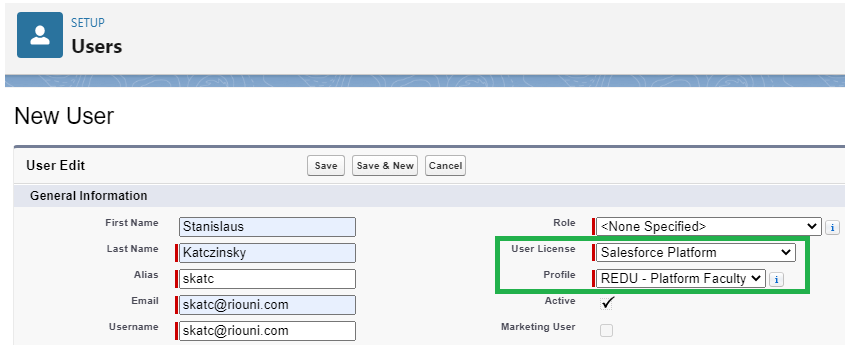
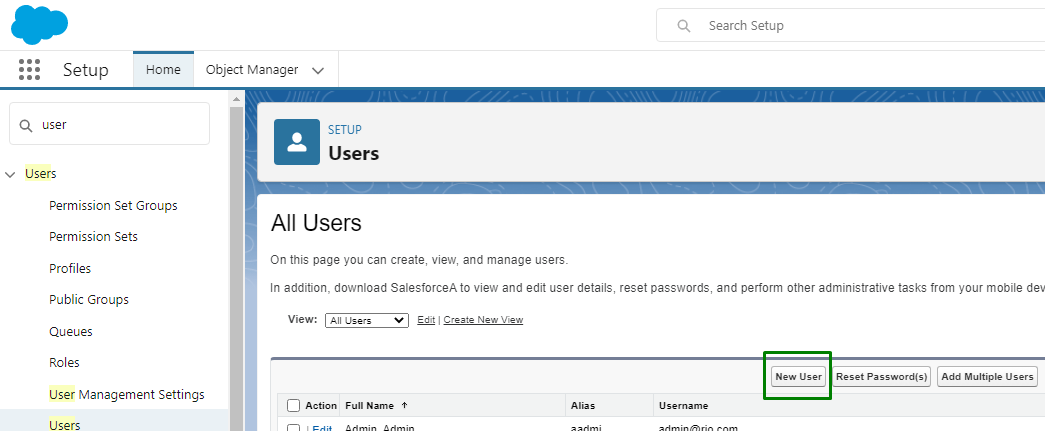
- Head to Setup > Users. Create a new user.


- Assign 'Salesforce Platform' as the User License, and 'REDU - Platform Faculty' as the Profile.
- Ensure that the User is given the 'REDU - Faculty' Permission Set Assignment.
If you have other Permission Set Assignments for that User, ensure that a Permission Set Group containing those are assigned.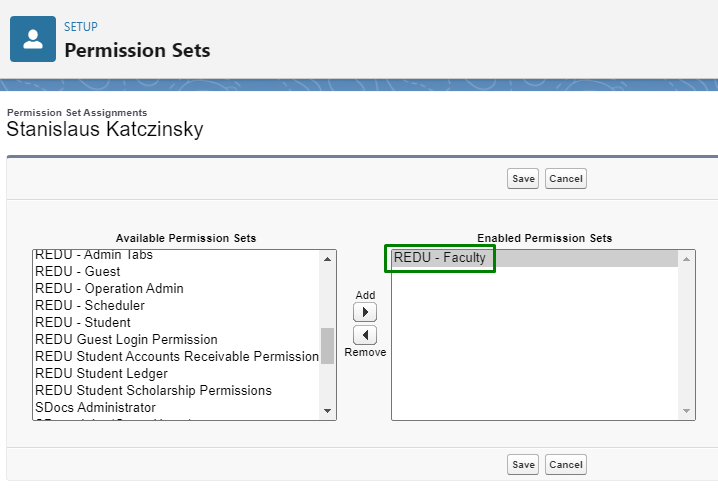
- Under Setup, head to Public Groups.
Edit the REDU - Faculty group, and add the User to the group.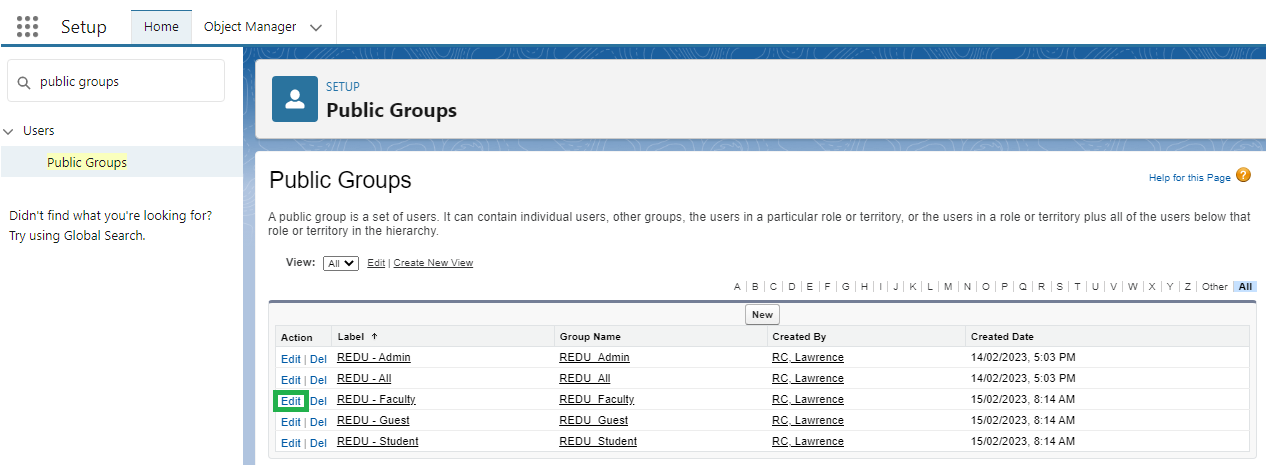
- Finally, create a Contact manually, and then assign the User that you have created.
Remember to check the 'Faculty Member?' checkbox.
Regardless whether the user has been automatically or manually created, you can login to the Faculty Community the same way.
Follow the login steps detailed above.
Admin User (not System Admin)
- Head to Setup > Users.
Create a new user.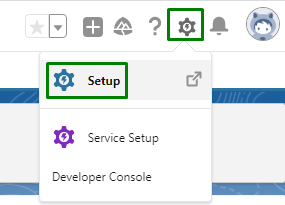
- Assign 'Salesforce' as the User License, and 'REDU - Admin' as the Profile.
The Admin must have a Role, in order to own records created by Guest Users (i.e. files uploaded by Community Guest Users). If there are no Roles, you can create one via Setup > Roles.
- Ensure that the User is given the 'REDU - Admin' Permission Set Assignment.
If you have other Permission Set Assignments for that User, ensure that a Permission Set Group containing those are assigned.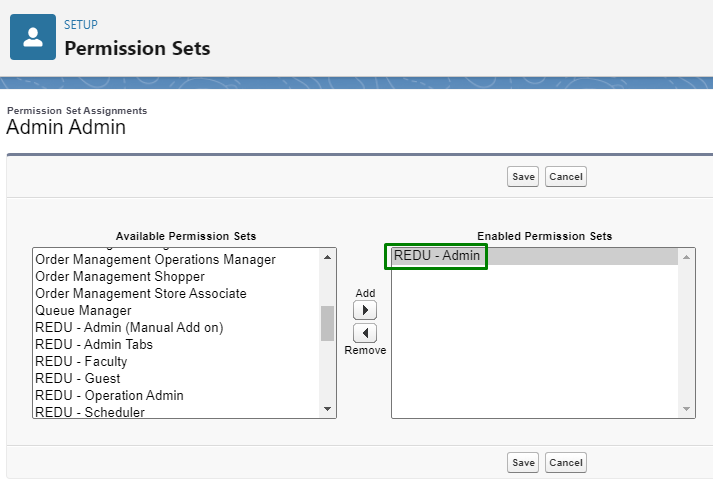
- An email will be sent for the admin to verify their account.
See also
RIO Education User Profile, Custom Permission, and Permission Sets.