RIO Ready: Withdrawal Functionality Setup
Table of Contents
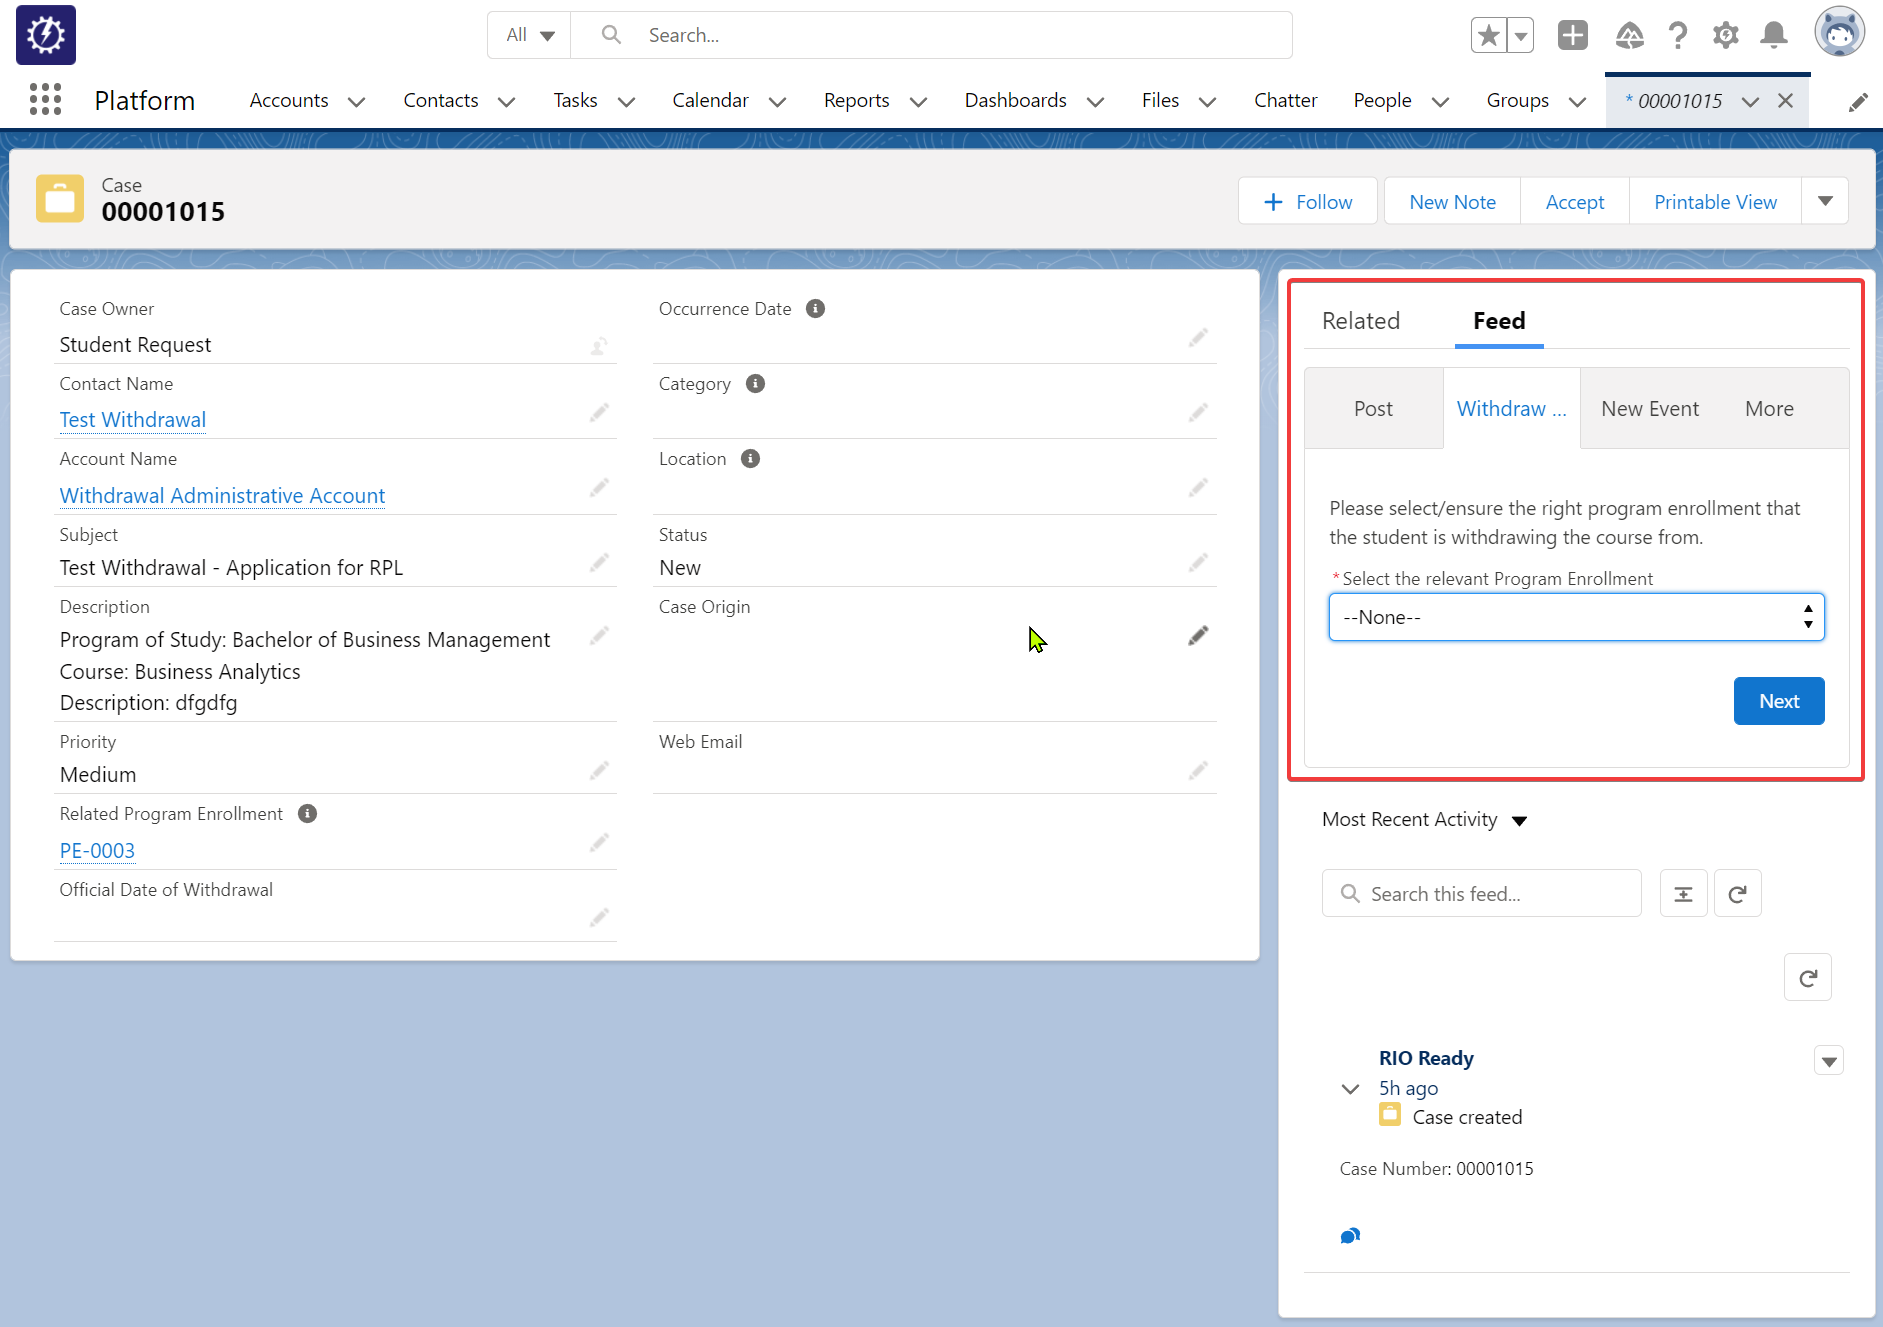
We will setup the Withdrawal flow in the Case object.
To quickly setup the Withdrawal functionality, please follow the following steps:
Step 1: Activating the Flow
- Login to Salesforce and go to “Setup”.
- From Setup, click on Home.
- In the Quick Find box, enter Flows. Click on Flows.
- Click on Course Withdrawal.
- Click on Activate.
Step 2: Including the Flow into the Case Chatter Feed
- From Setup, enter Object Manager.
- From the Quick Find in Object Manager, enter Case.
- Click on Case Page Layouts, and choose EDA Incident Layout (in this example we assume the user is using EDA Incident Layout for their Case Layout).
- Click on Mobile & Lightning Actions and find "Withdraw Course".
- Drag "Withdraw Course" from the list shown in Mobile & Lightning Actions into the Salesforce Mobile and Lightning Experience Actions.
- Save.
This will enable the Course Withdrawal flow for use in Case Feed.

Step 3: Include the new Grade Value (W) into Course Connection Record Types
- From Setup, enter Object Manager.
- From the Quick Find in Object Manager, enter Course Connection.
- Click on Record Types.
- Click on the relevant Record Types.
- Click on Edit next to Grade Value.
- Add W into the Selected Values.
- Save.
- Repeat the above for all the Record Types in Course Connection that will encounter the Withdrawn scenario.
Note:
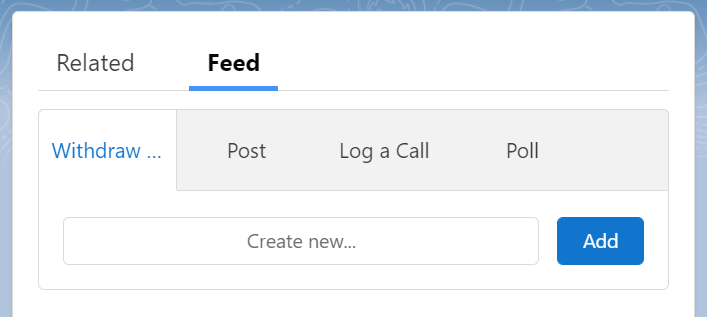
Avoid putting Withdraw as the first tab in the Feed as by default upon page load, the first tab of the Feed would be shown in minimized form.

The user would then need to click on the 'Create new' or switch the tab (for example with the above image, the user could switch to Post tab then switch back to Withdraw). Either method will open Withdraw flow to the full extent within the Feed.