RIO Ready V4: Guest User Verification Link Setup
Table of Contents
Overview
This article provides a guide to setting up the Guest User Verification Link components after installing RIO Ready V4: Guest User Verification Link.
Prerequisite
- Install the RIO Ready V4 - Guest User Verification Link: [Install from here].
- Community Setup:
- A publicly accessible Digital Experience Site is required. The components are designed to be compatible with LWR sites.
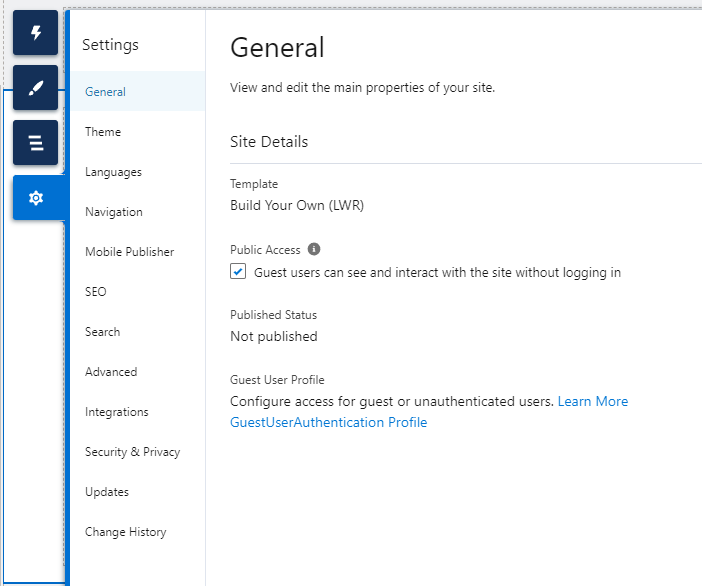
- To make the site public, open the site in the Experience Builder, click Settings (gear icon on the left-hand side) and tick the Public Access checkbox.
- Organization-Wide Email Address:
- An Organization-Wide Email Address with the Display Name LoginNoReply is required to send the verification email (see the setup steps below).
Post-installation Setup
Organization-Wide Email Address
- Navigate to Setup >> Organization-Wide Addresses.
- Add a new Organization-Wide Email Address with the Display Name LoginNoReply (the display name must be exactly this, otherwise the email will not be sent). You can use any valid email address, and tick the "Allow All Profiles to Use this From Address" checkbox.
- Verify the Organization-Wide Email Address from the email you receive.
Permission (Objects/Fields/Apex Classes/User permission)
From the Experience Builder, navigate to Settings > General > Guest User Profile.
Grant the necessary permissions for each component to users. Ensure these are assigned to the relevant profiles or permission sets. No permission set is included in the package.
| User Type | Type of Permission | Component Name | Access Type |
| Guest | Apex Classes | redu_GuestTokenRequest_LCTRL redu_GuestTokenVerification_LCTRL redu_GuestDataRetrieve_LCTRL |
Enable |
Community Pages
In the Experience Builder, create the pages for the guest sign-in and verification, then drag and drop the components below onto them. A preconfigured "Guest Verification" page template containing the reduGuestTokenVerification component is included and can be used to create the verification page.
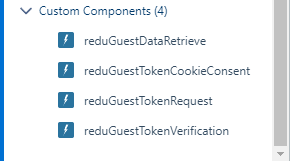
Community page templates are available to help with the page configuration. Navigate to the digital experience builder, click the page properties (a gear icon), and “+ New Page” to create following pages.
Guest Token Request
Select the “Guest Token Request” template to continue:
- Name: Guest Token Request

Guest Verification
Select the “Guest Verification” template to continue:
- Name: Guest Verification

Guest Data Retrieve
Select the “Guest Data Retrieve” template to continue:
- Name: Guest Data Retrieve

Publish the community once completed.
Custom Setting
- Navigate to Setup >> Custom Settings.
-
Click 'Manage' beside 'RIO Ready Settings', then click 'New' at the top of the 'Default Organization Level Value' section.

- Fill in the following fields:
| Field Name | Description |
| Guest Authentication Domain URL |
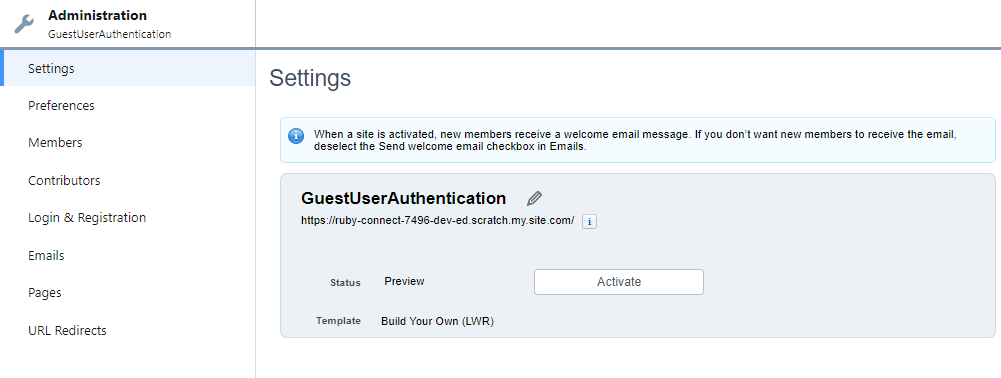
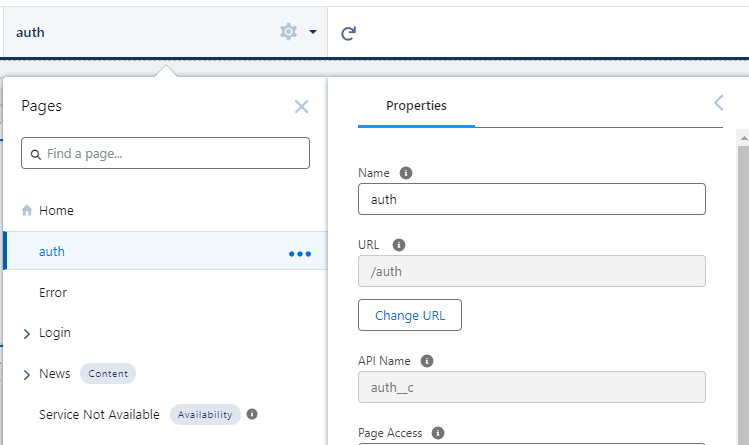
The URL of the page where the reduGuestTokenVerification component is placed. You can obtain the domain URL from the 'Administration' page in the Digital Experience. Then, append the URL of the page where the reduGuestTokenVerification component is placed. You can check the page URL by opening the builder, navigating to the page, and clicking the gear icon beside the page name. (The image is for reference only; your implementation might be different.) |
| Guest Encryption Secret | A 16-character secret used for the authentication token encryption (AES128). The characters can be in any combination. |
| Guest Token Expiration Period | The number of minutes before a token expires. |
| Guest Token Request Limit | The maximum number of login tokens that can be requested by a user in a minute. |
Sample Custom Setting:

Flow Activation (Optional)
To reduce unused data, the package includes a schedule-triggered flow that deletes Login Request records older than two days, daily. The flow is installed as inactive. Follow the steps below to activate it:
- Navigate to Setup >> Flows.
-
Find the flow named 'REDU Delete Login Requests Older Than Two Days'.

- Click the down arrow, then click 'View Details and Versions'.
-
Click 'Activate' next to the flow version.
