Table of Contents
Overview
This article covers the process of creating Sessions (e.g. lecture, tutorial classes) and assigning the facility (venue) and faculty (e.g. lecturer).
Note:
- This article acts as a walkthrough/guide on the steps. For detailed information on the system, see this instead: Session Scheduler.
- You can also create Sessions using templates. For a guide, see here.
Use case
RIO University is offering the Course UN100, with a lecture session held every Monday from 9 am to 11 am.
The Session will be made available on the enrollment wizard, for students to enroll to.
Setup
The following records should be created before creating Sessions:
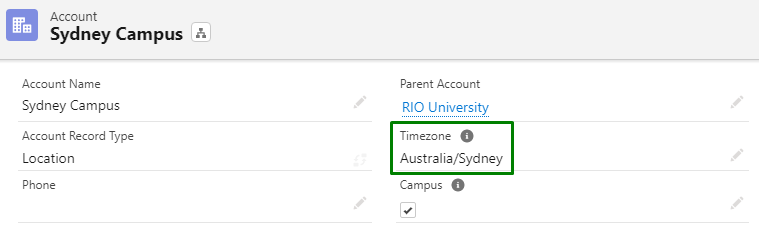
- Educational Institution Account - an Account record of a university/college.
- Location Account - an Account record of a campus.
- Course - a 'template' record of the Course.
- Course Offering - a record the Course that is being offered for a particular Term, which students can enroll to.
- Facility - a venue for the Session, e.g. a classroom.
- Faculty - a Contact record of a Faculty member, e.g. lecturer.
Creating the Session
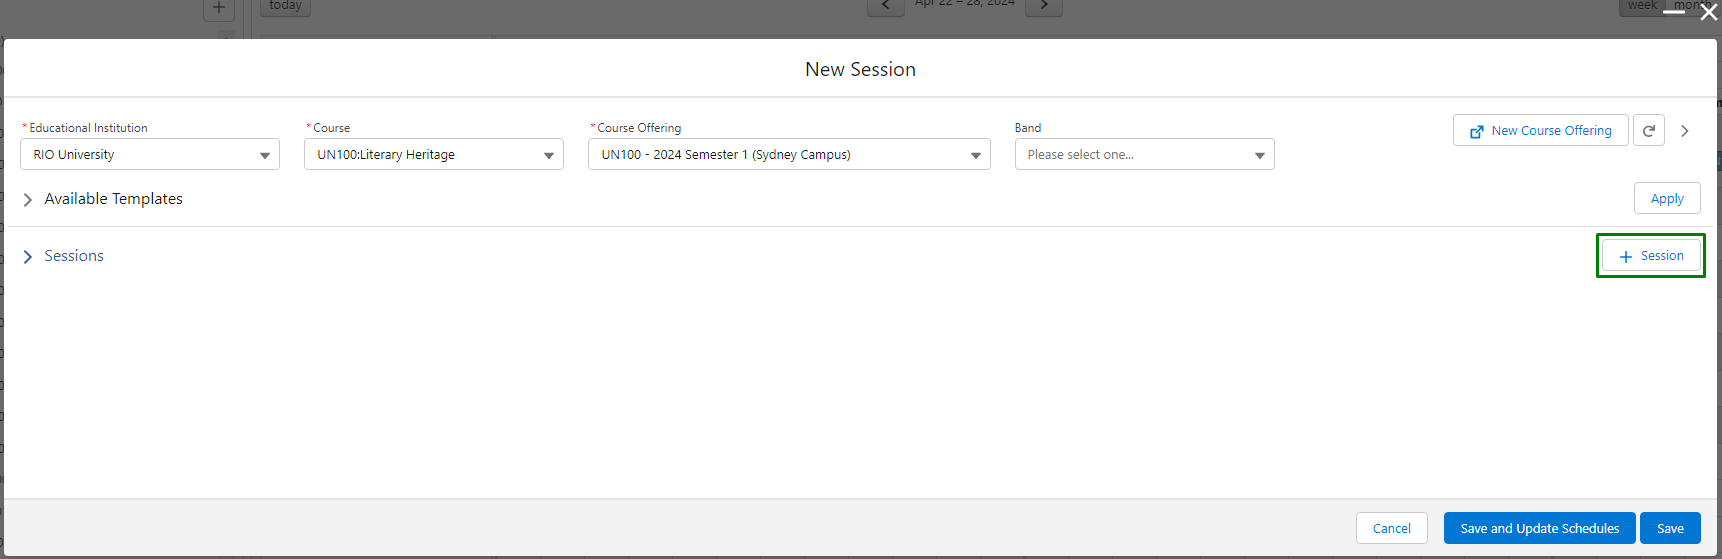
Open the Session Scheduler and create a new Session by clicking on the + symbol.

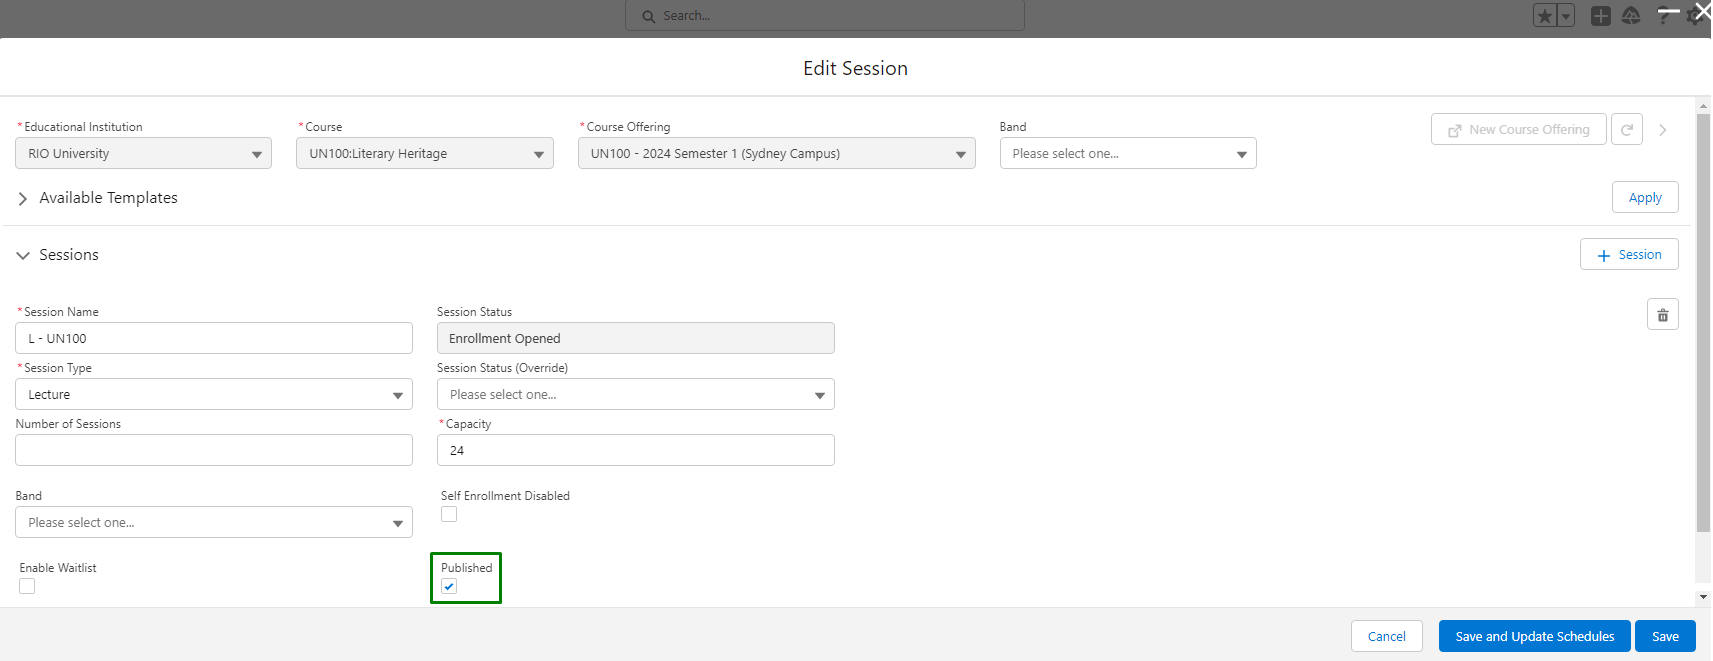
Fill in the lookup to the Educational Institution, Course, and Course Offering (which you should have already created beforehand).
- Only the active Course Offerings (in the current and/or future Term) will be displayed for selection.
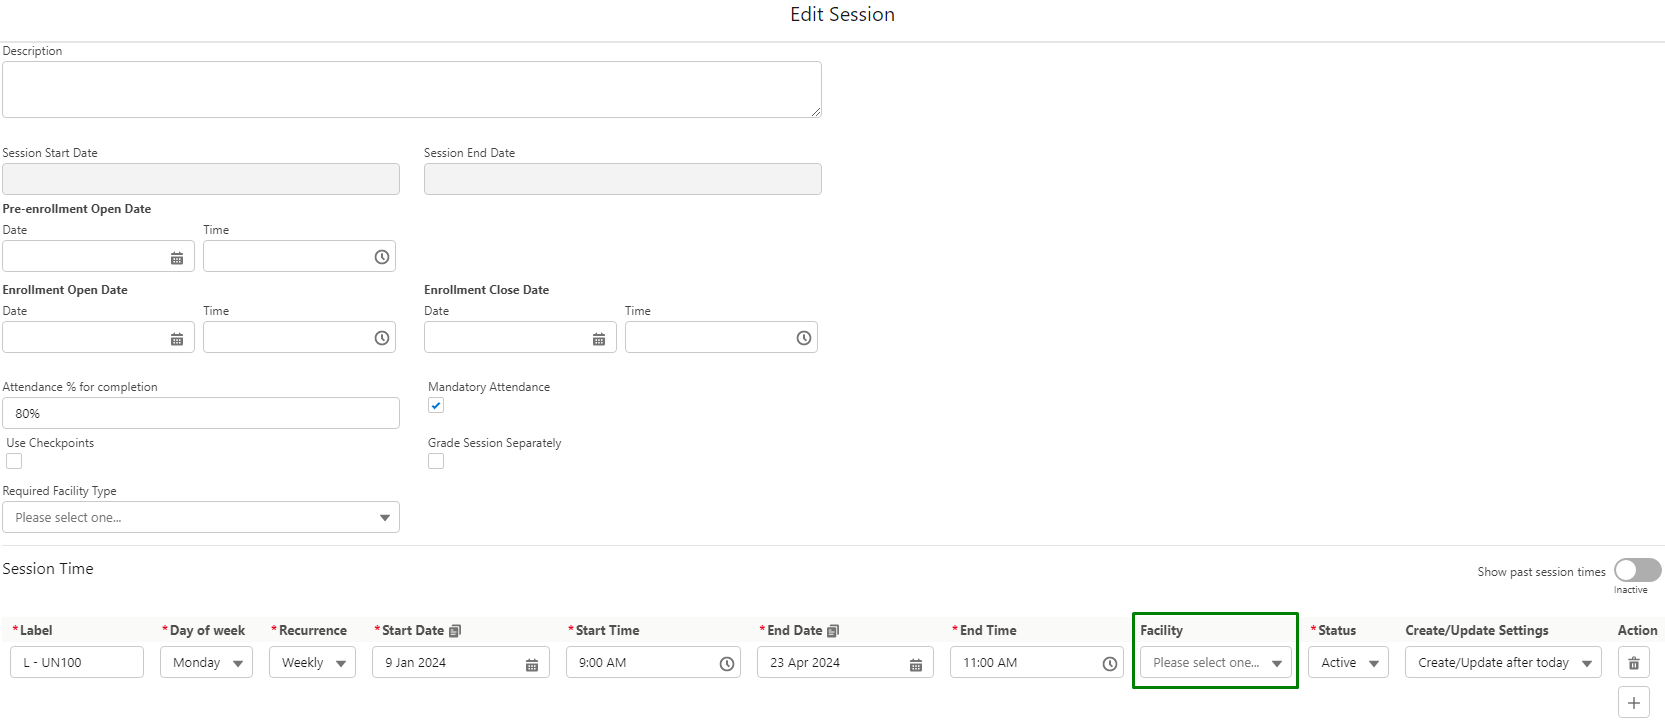
Then, create a new Session and fill in the required fields.
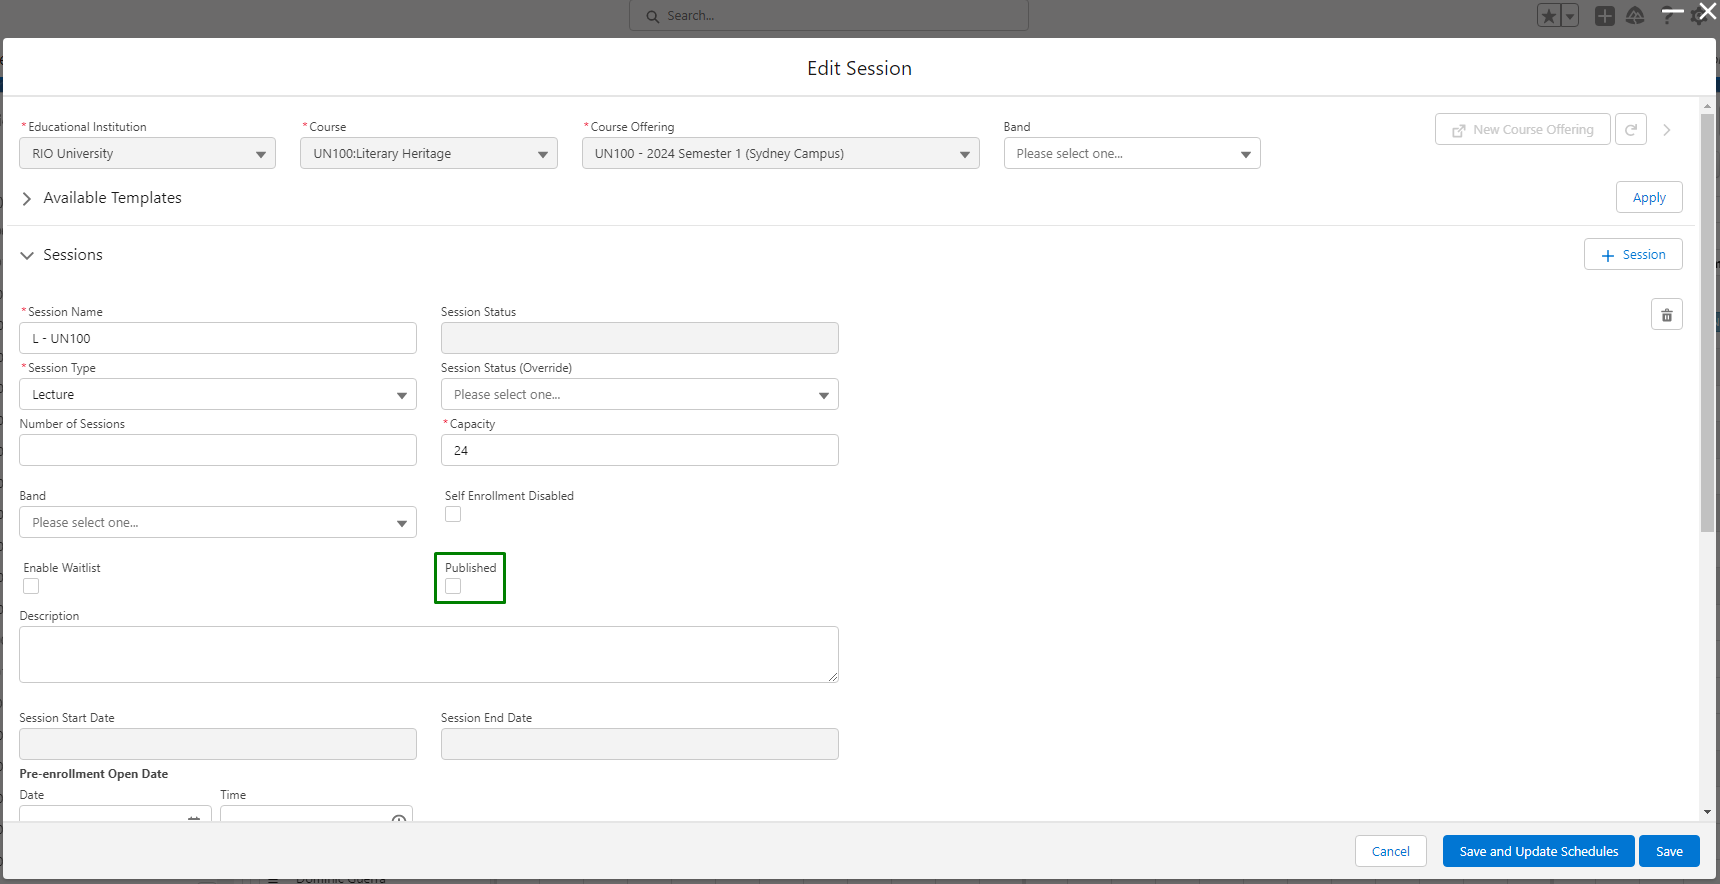
Note:
- The 'Published' checkbox is to make the Session available for students to enroll.
- Do not check 'Published' yet, since you have not created a Session Time.
Then, create a Session Time.

Define the day of week and recurrence. For example, this Session will held once a week (every Monday).
Fill in the other information, then, click 'Save and Update Schedules'.
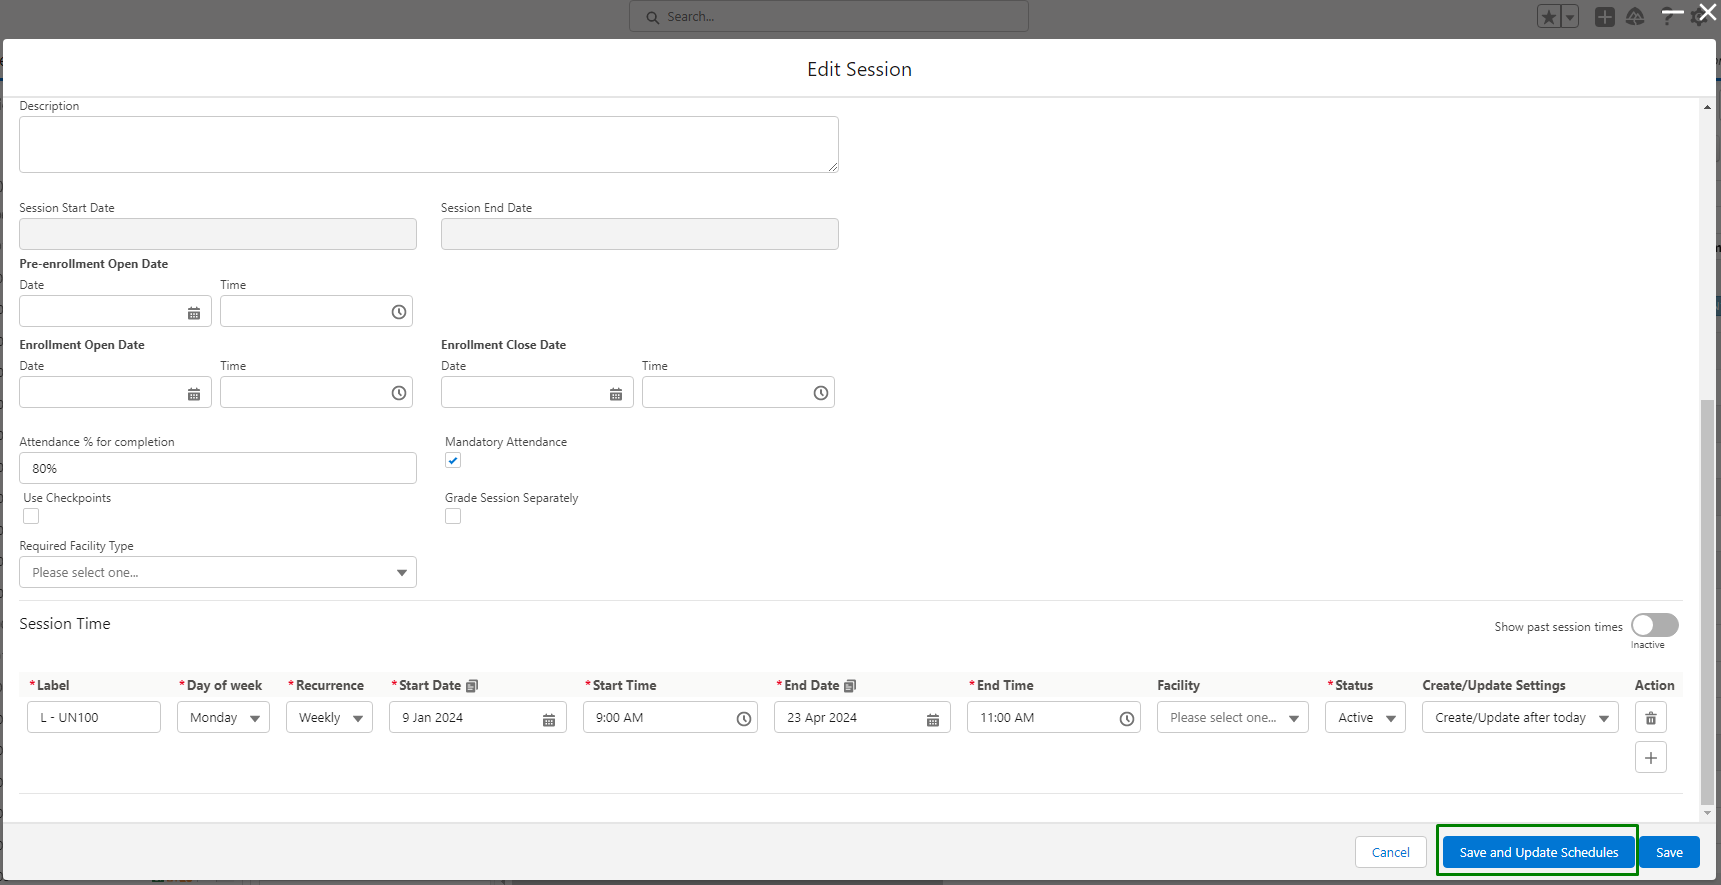
This will create the Session and its bookings.
Then, head back to the Session and click 'Published'.
You will then be able to view the Session on the Session Scheduler.
- If changes are made to the Session Time, it is important to update the Booking Status to 'Create/Update Bookings'.
- See here for the related trigger.
- See here for the related trigger.
- If the Session Time's end date is before today (i.e. in the past), the Session will not appear on the calendar, since the Session Status is 'Completed'.
- To view it on the calendar, configure the filter to show completed Sessions.
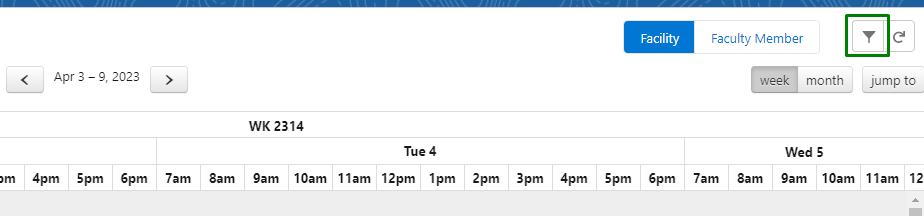
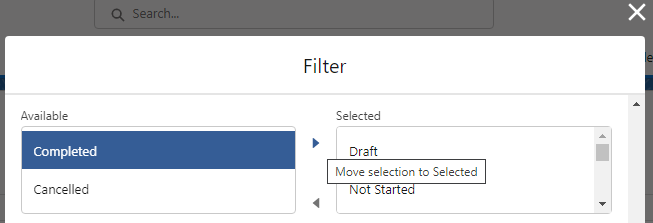
- To view it on the calendar, configure the filter to show completed Sessions.
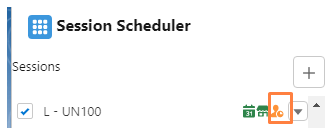
Assigning facility
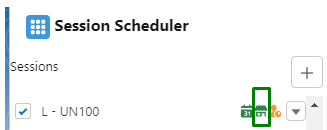
The Session will need a venue (e.g. classroom). The colour of the house icon is amber, since a facility has not been assigned yet.
- See the logic of the icon colours here.
Set the Session Scheduler to 'Facility' view, and preview the Session.
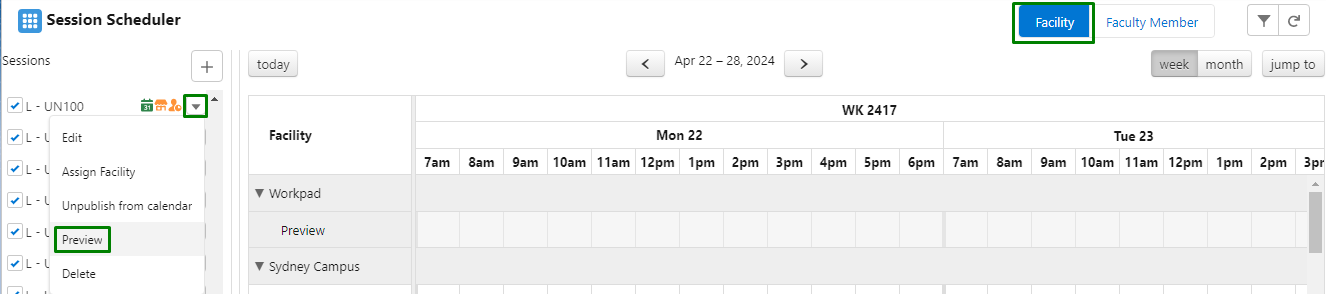
Drag and drop the Session to the desired facility and confirm the event change.

Tip
If the facility is too far below, you can drag the facility into the workpad, to make it easier to assign Sessions.
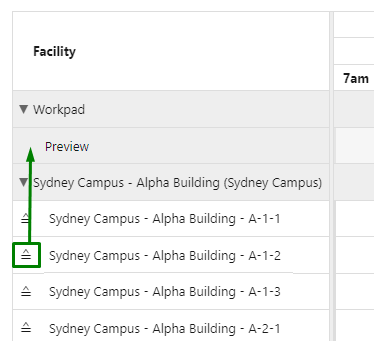
Once confirmed, the colour of the house icon will turn to green.
Alternative:
When creating the Session and Session Time, you can also directly specify the facility in here.
A list of facilities from the same campus as the Course Offering (which offers this Session) will be displayed, but as of v3.12, you can choose to show facilities from other campuses too.
See here for the Session Scheduler function.
Although this is easier than the drag-and-drop method above, you will not be able to see if the facility is already used by a different Session.
If the facility is double booked, the house icon will turn red (see here on the colour logic).
Assigning faculty
The Session needs a faculty to administer it (e.g. lecturer). The colour of the person icon is amber, since a faculty has not been assigned yet.
- See the logic of the icon colours here.

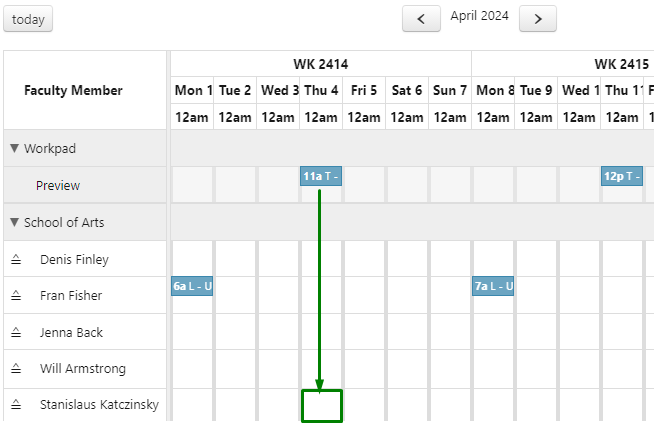
Set the Session Scheduler to 'Faculty Member' view, and preview the Session.
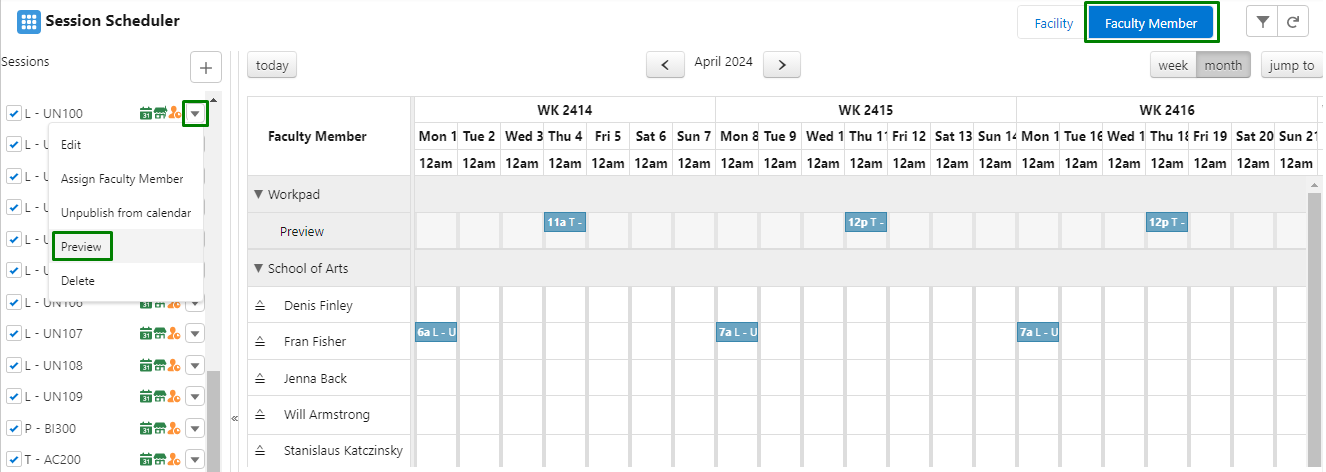
Drag and drop the Session to assign it to the desired faculty member.
- Note that if the Session Time has already passed, the faculty will not be assigned to the Session (since it has been completed).
Tip
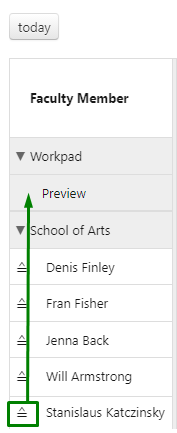
If the faculty is too far below, you can drag the faculty into the workpad, to make it easier to assign Sessions.
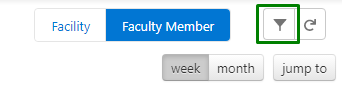
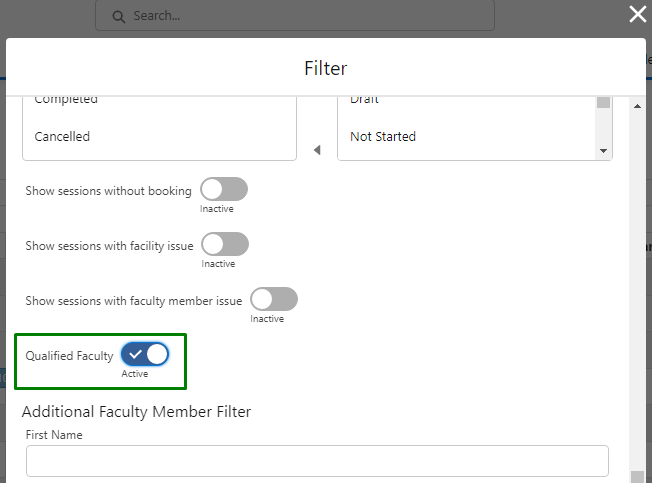
Also, you can use the filter at the top right to filter by Qualified Faculty.
After assigning the faculty, the colour of the person icon will still be in amber, since the faculty has not accepted the assignment yet.
Once the faculty accepts the assignment, it will turn into green.

Alternative:
Expand the dropdown for the Session and select 'Assign Faculty Member'.
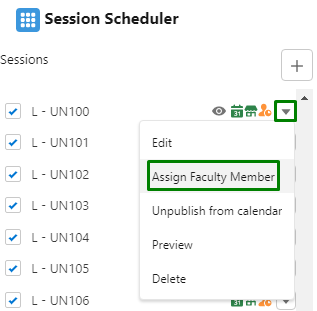
This will bring up the Faculty Connection Wizard, where faculties can be added to administer this Session.
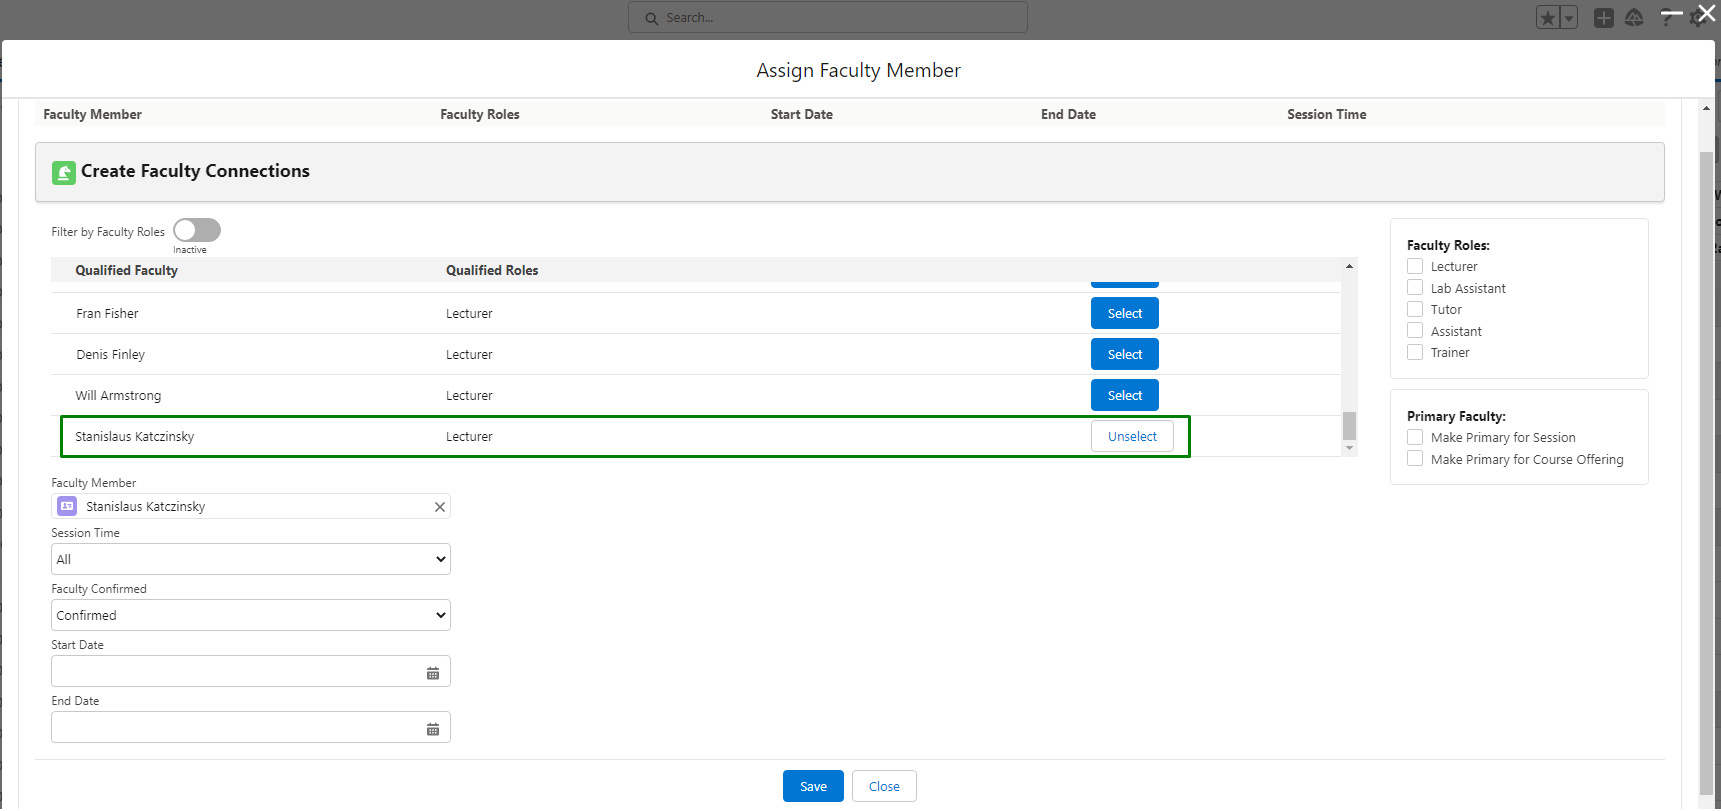
Although this is easier than the drag-and-drop method, you will not be able to see if the faculty is already assigned to a different Session at that same time.
If the faculty is double booked, the person icon will turn red (see here on the colour logic).
Notes
Creating exam sessions
You can also create Sessions that represent Examinations and/or Tests.
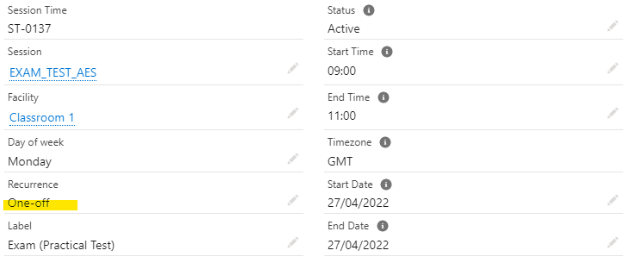
To achieve this, create a Session that contains a Session Time with a "One-off" recurrence. Make sure that the Session falls during the right Term.
Exam Sessions can be assigned to facilities and faculties as well, the same way you would create a regular Session as seen above.
See also
-
How to create a Session using Session Template.
-
How holidays work (e.g. no class Sessions should be created during holidays).
- Sharing a combined class Session (e.g. students from different Course Offerings sharing the same class).