RIO Ready: Student Id Generation Functionality Setup
Student ID Generation Functionality Setup Guide.
Table of Contents
To quickly setup the Student Id generation functionality, please follow the following steps:
Prerequisite
- Ensure that RIO Ready - Student ID has been installed here.
- If there is an installation error stating that there is no field named 'redu_Accounts_Receivable_Amount__c' on the Contact object, then, install RIO Ready - Accounts Receivable Display first, and try again.
Step 1: Change the Student Id Format
- Login to Salesforce and go to “Setup”.
- From Setup, click on Object Manager.
- In the Quick Find box, enter the Student Number. Click on the object. If you are unable to find this object, you may need to install the custom components. To do this, please see below.
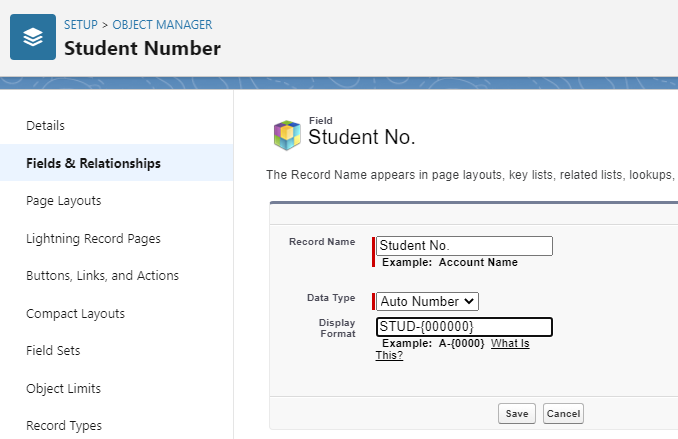
- In Fields & Relationship, enter the Student No. in the Quick Find box and click on "Edit".
- In the Display Format, enter your required format. To find out what format is supported, click on the “What Is This?” link.
Step 1.1: Reset Student Id Running Number
Only do this if you need to continue from the latest running number of the existing student (migrated from legacy system).
In other words, if you have existing student numbers (e.g. STUD-000012) before this, and you want the Student Number to start from STUD-000013 instead of STUD-000001.
- Login to Salesforce and go to “Setup”.
- From Setup, click on Object Manager.
- In the Quick Find box, enter Student Number. Click into the object. If you are unable to find this object, you may need to install the custom components. To do this, please see below.
- In Fields & Relationship, enter Student No. in the Quick Find box and click on "Edit".
- Change the Data Type from Auto Number to Text and click "Save".
- Repeat steps 1 to 4, change the Data Type from Text to Auto Number.
- Set the Display Format accordingly.
- Set the Starting Number with the next running as accordingly and click "Save".
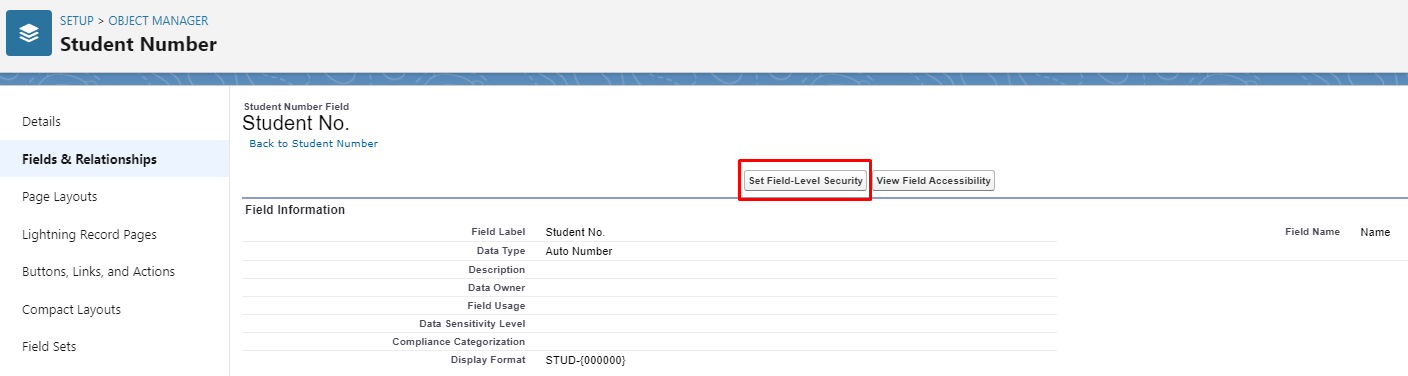
Step 2: Adding Object and Field Access
Set the Field-Level Security for following fields (under the Student Number object, and the Contact object):
| Field | Object | Access |
| Student No. | Student Number | Field-Level security to "Visible" for the relevant profiles. |
| Student Email | Student Number | Field-Level security to "Visible" for the relevant profiles. |
| Salesforce Record Id | Student Number | Field-Level security to "Visible" for the relevant profiles. |
| Contact Type |
Contact |
Field-Level security to "Visible" for the relevant profiles. |
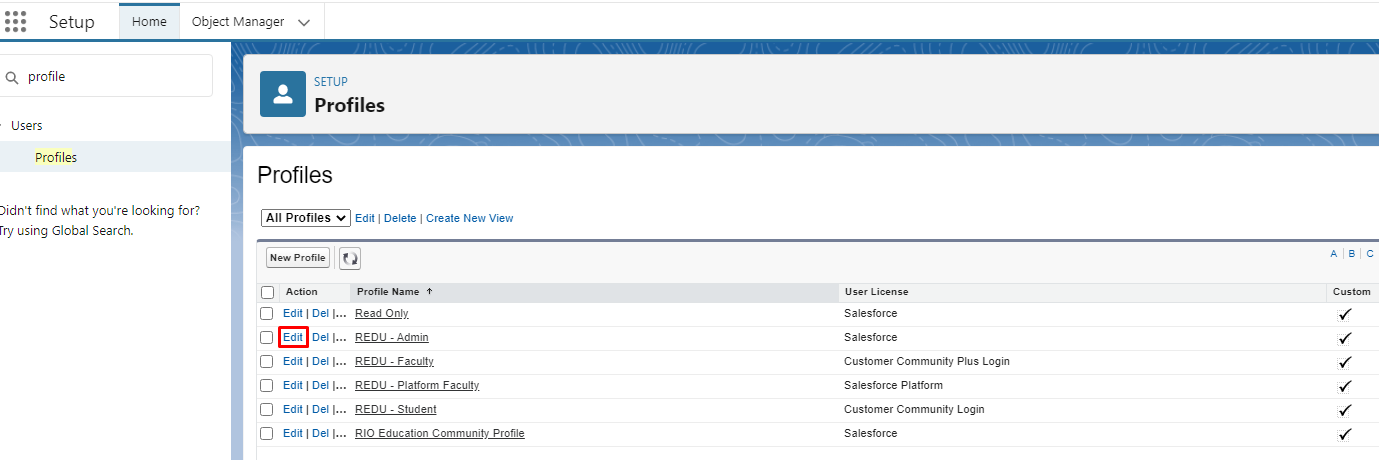
Then, go to Setup > Profiles.
Select the relevant profile (e.g. REDU - Admin) and ensure that 'Read' permission is granted for the Student Number object.

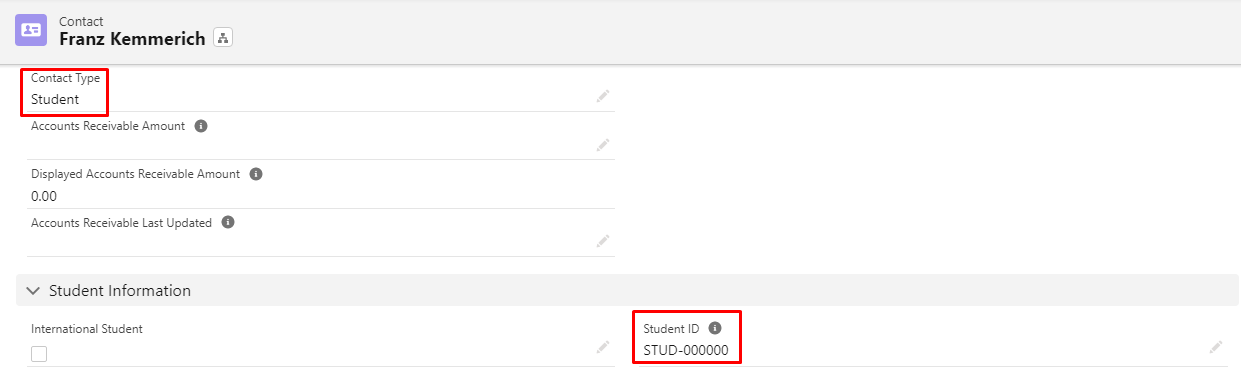
Step 3: Adding Contact Type Field
- Login to Salesforce and go to “Setup”.
- From Setup, click on Object Manager.
- In the Quick Find box, enter Contact. Click on the object.
- In Page Layouts, select the layout that you want to include the "Contact Type" field in and click "Save".
Step 4: Installing the Custom Component
Only do this if the custom component (redu_CON_StudentID_TDTM) is not found under Trigger Handlers records.
- Contact WDCi for the installation source.
- Install the components and once done:
- Open the Developer Console.
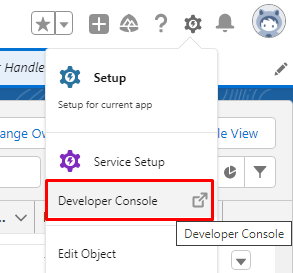
- Go to Debug (on the top menu) -> click on "Open execute Anonymous Window".
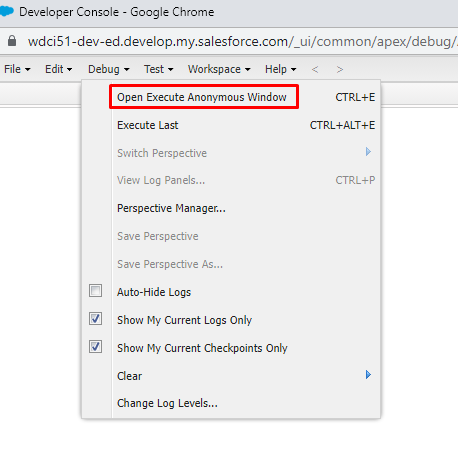
- Paste the following:
- Open the Developer Console.
redu_CON_StudentID_TDTM.installTDTMSetting();Once this is created, changing a student's Contact Type = Student on their Contact object, will automatically create a Student ID based on what you have configured in step 1 to 3.